Nextcloud Client Installation
Q: Why Nextcloud?
A: Perfect for home and office
Access everything with the tools you are already using, regardless of the device or platform you are on. Pictures, videos, documents, contacts, communications – they are all available right where you need them whether they are coming from your local storage or remote cloud services.
There are two ways to use our Nextcloud storage:
- browser
- client program
This article shows the second one.
1. Nextcloud client downloading
We should install the latest version of the client software. We can download it at: https://download.nextcloud.com/desktop/releases/Windows/latest
Currently the latest version is v2.6.2. We always can reach the latest version here: https://download.nextcloud.com/desktop/releases/Windows/Nextcloud-2.6.2-setup.exe
After the downloading let’s run the installer!
2. Nextcloud client installation
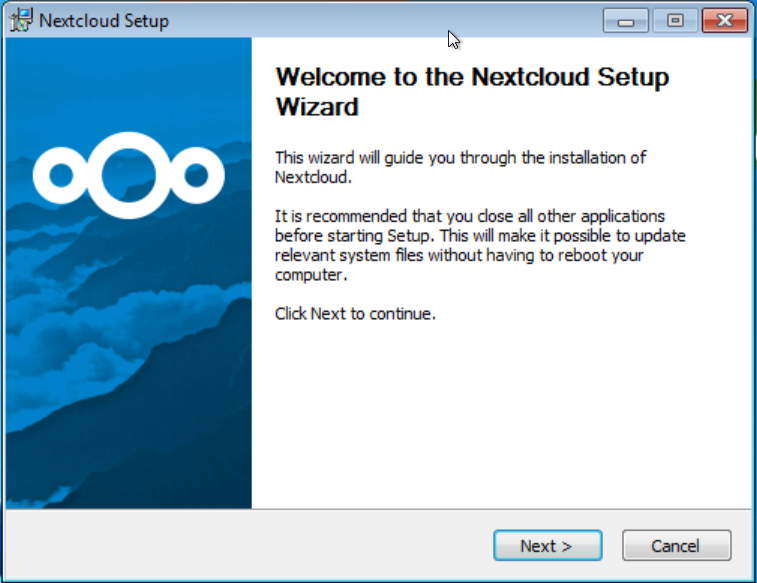
After we have started the installer we should see the following. Let’s move on with the Next button:
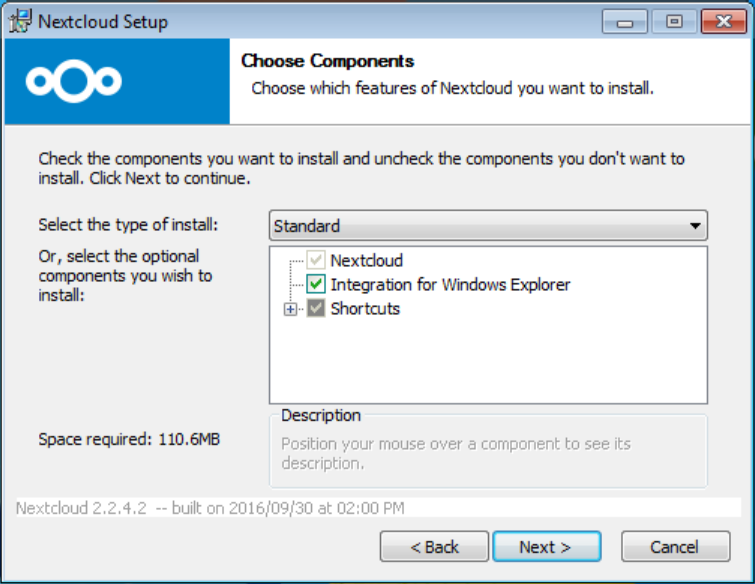
We can select and deselect the component, but we should leave the defaults and let’s click on the Next button:
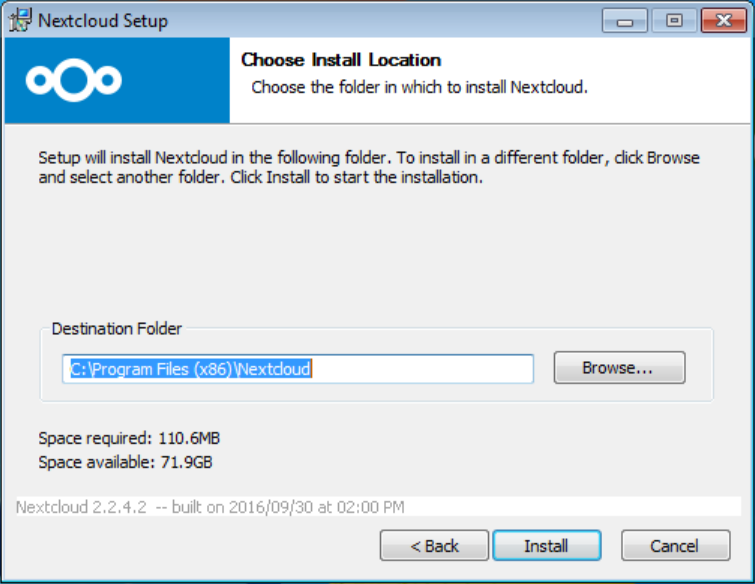
We can change the Destination folder to where the installer puts the program files but we don’t mistake if we leave it untouched. Let’s start the installation with the Install button:
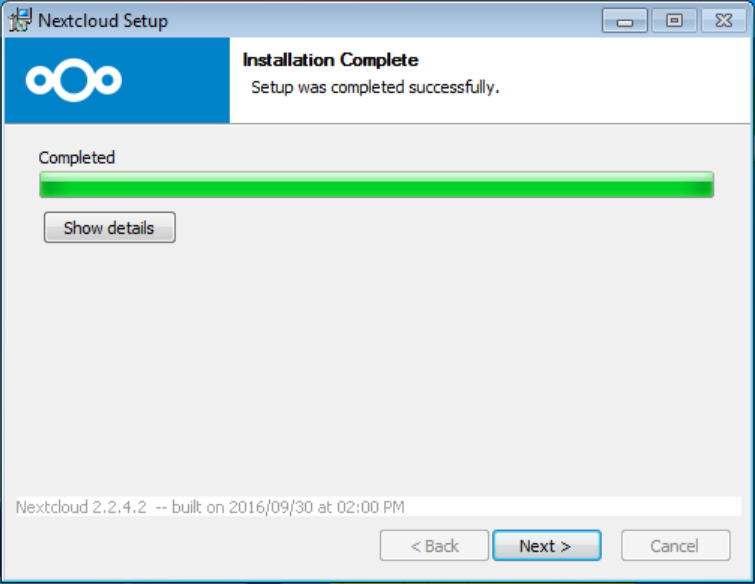
We have to wait until the Installing process will be finished:
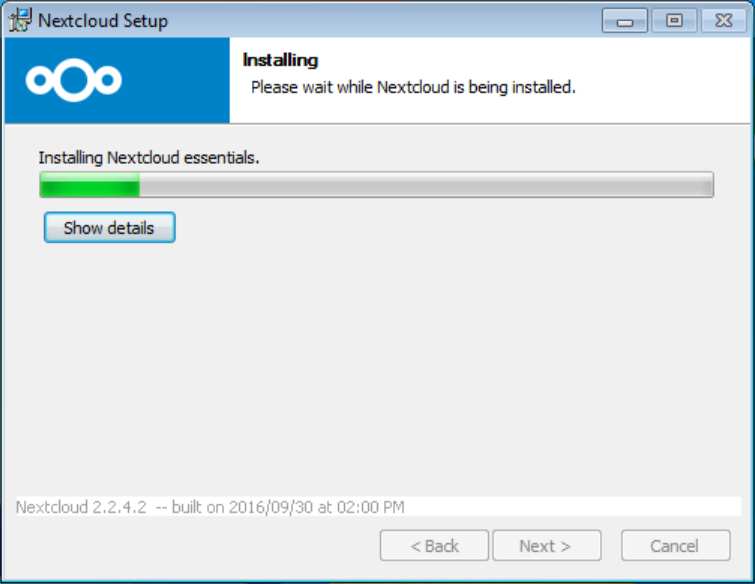
After it will be done, let’s move on with the Next button:
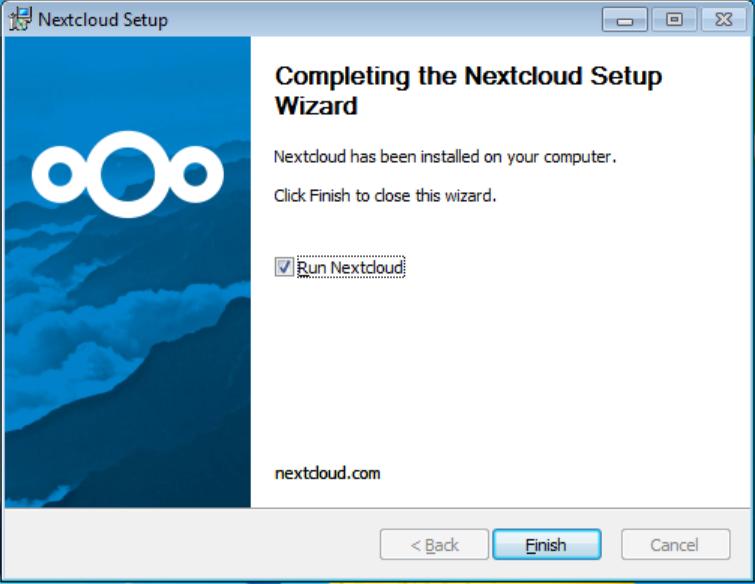
We get a little summary page. It’s worth to leave the Run Nexcloud option on. In that case the Nextcloud client will be started and it will start the synchronizing with the server. If we leave on the option then we can start to set up the client after we click on the Finish button:
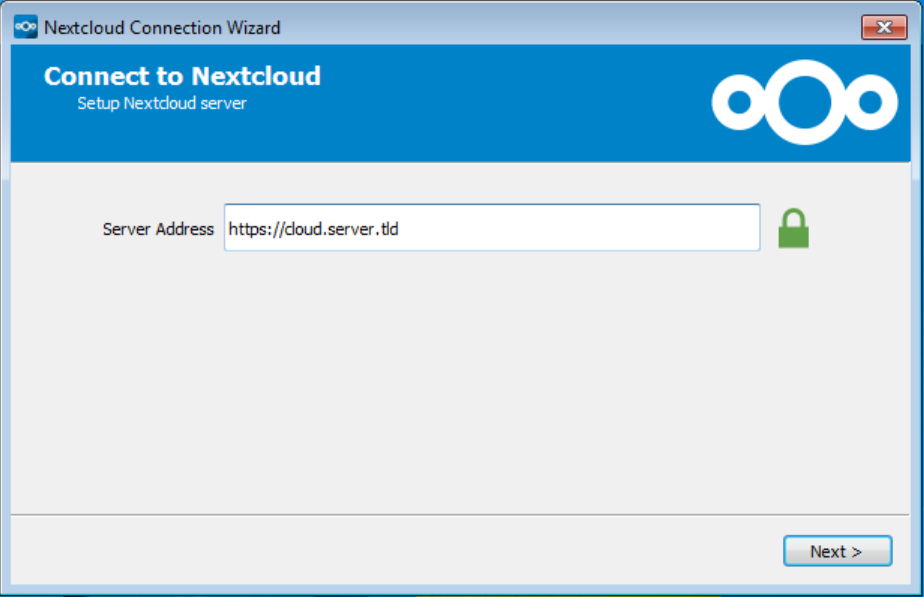
At first we have to set the Server address:
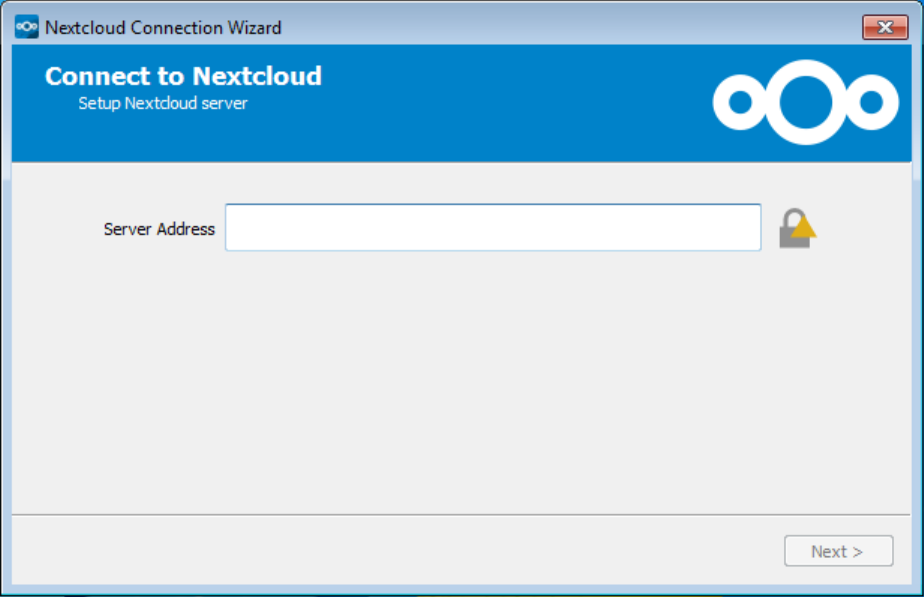
Let’s pay attention to the protocol in the Server address field. We must start with http:// or https:// prefix. (The https:// is the preferred but it depends on the server capabilities.) After we felt the field let’s move on with the Next button:
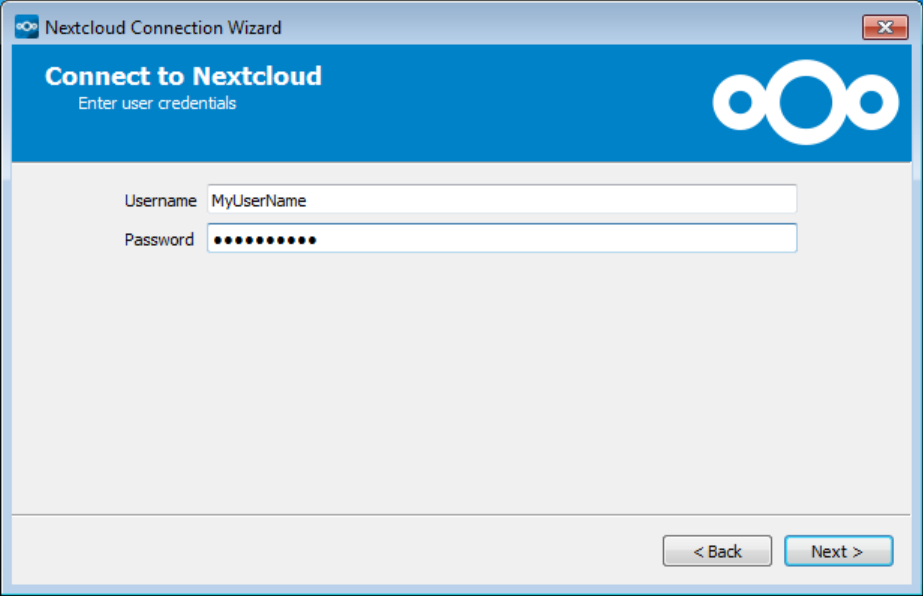
On th next page we have to set the login information (Username / Password):
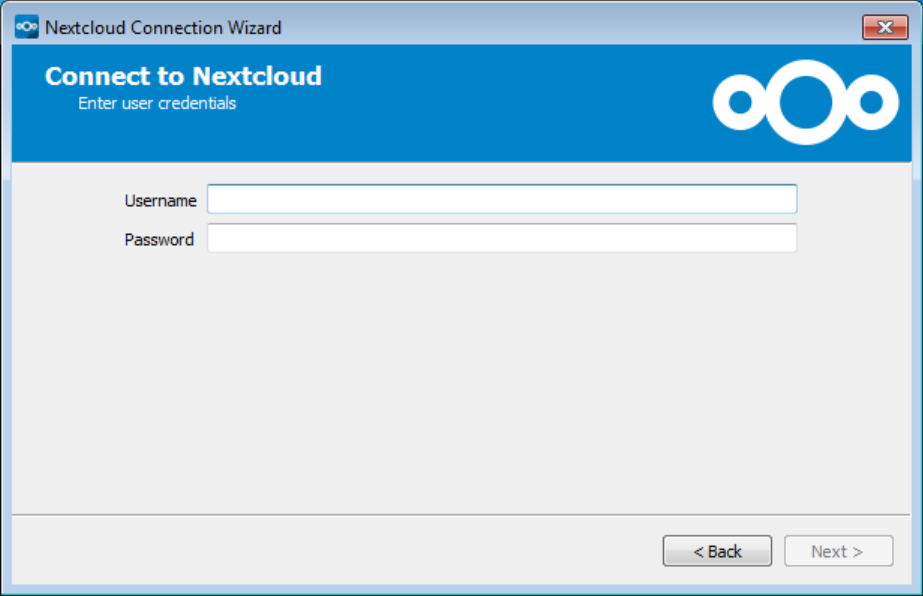
Let’s take care of the letters (small or capital) at Username and Password because both of them are case sensitive. After we set both let’s click on the Next button:
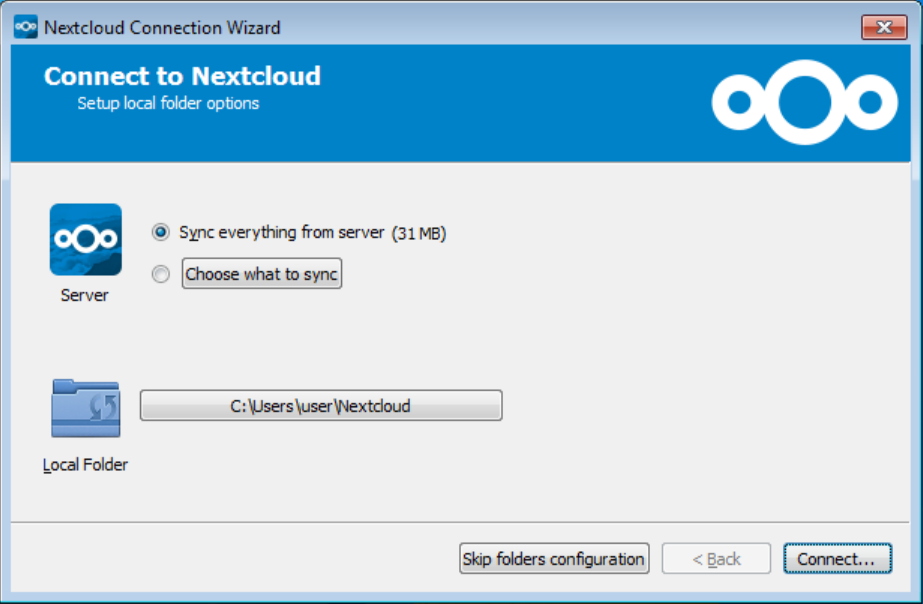
If we click on the Choose what to sync button then we will able to select which directories will be synchronized between the server and the client (next picture).
Moreover we can set the directory of the synchronizing (Local folder). By default this directory is the Nextcloud which is in our own user home folder.
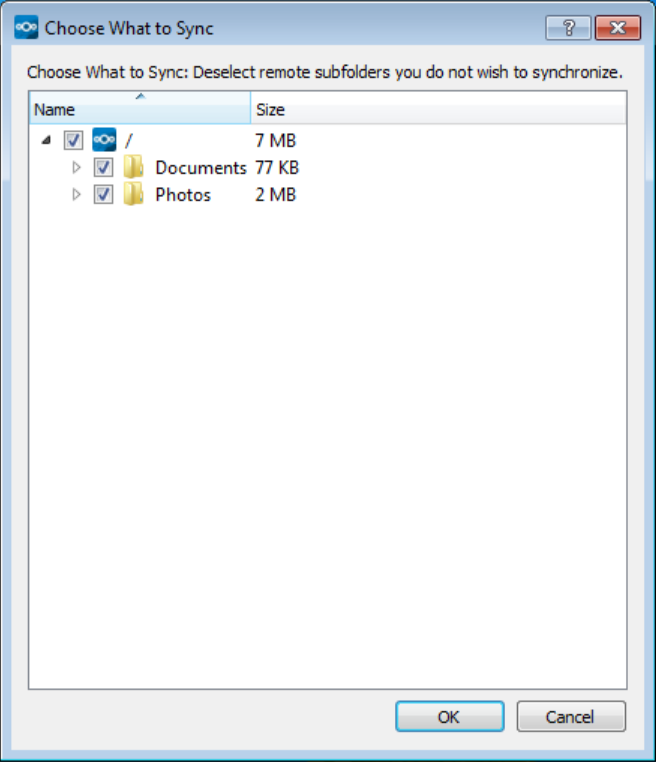
If we chose the Choose what to sync button then we get a new windows where we can select and deselect the directories. By default all directories are marked as synced. After we finished the settings let’s close the windows and return back the previous window with the OK button and connect to the Nextcloud server with the Connect button:
After the successful connection we can see the following:
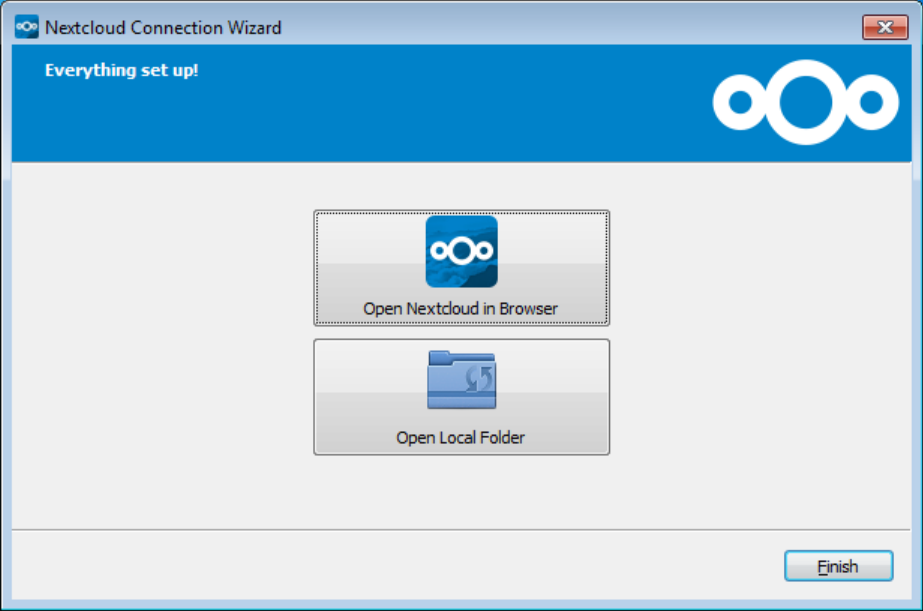
With the upper button (Open Nextcloud in Browser) using we can open our Nextcloud storage (previously field: Server address) in the default browser. After we logged in with our own access we can reach lots of extra services: videocall, collaborate documents and spreadsheet editing, calendar, contacts and so many other things.
With the lower button (Open Local Folder) we can open the local folder where the synced data are.
We can close the window with the Finish button because the synchronization already has stared.
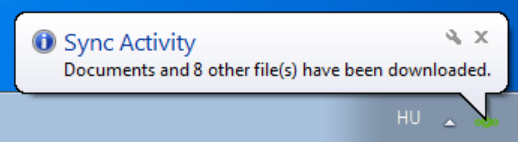
We will get an popup message about any changes (creating, modifying, deleting, etc).
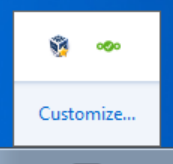
On the system tray – see on the right top corner – we can open the Nextcloud client with the green icon:
At finally we should do a little change. Basically excluding the lock files is not a bad idea but it could cause data lost or other problems if more people edit the very same document in the same time. Unfortunately there is no change to change the default filter rules from the Client. So we have to do it by hand. Steps:
- Download this file: sync-exclude.lst
- Open Computer (shortcut: CTRL+e) and go into the Destination folder (Local folder) which is the C:\Program Files (x86)\Nextcloud folder by default.
- Copy and Replace the sync-exclude.lst
With this update we add the following exclude filter:
- System Volume Information
And we remove these lock file filters from the exclude list:
- .~lock.*
- ]*.~*
- .htaccess
There is no other else, go into the Cloud! 🙂